
Most computers have connectors for microphones, music players, and speakers on the back or side of the main unit. Some computers have an additional microphone jack on the front. These jacks are connected to your computer’s sound card or processor. Most microphones designed for computer use have a 1/8″ jack, but some have a larger 1/4″ jack. If you have this type, you will need to plug it into an adapter before connecting it to your computer.
-
Step 1
Identify the audio inputs on the back of the computer. Unless your computer is very old, the connectors are color-coded green for line out – for speakers or headphones – blue for line in, and pink for the microphone. The microphone and speaker connectors may also have small images next to them. Line input is for music players or other audio devices.
-
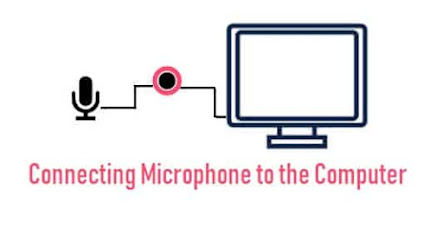
Step 2
Connect your microphone to the microphone jack. If your microphone has an on/off switch, turn it on.
-
Step 3
Point the mouse to the right edge of the screen, move the mouse pointer down, click “Search”, and type “Control Panel” in the Search box. Type “sound” in the search box at the top of the window and click “Sound.”
-
Step 4
Click “Microphone” on the Recording tab and choose “Properties.” Open the “Levels” tab and make sure the microphone is not muted. Click and drag the “Microphone” slider to increase or decrease the volume.
Don’t know how to make safe wire connections on your devices? Visit solderstick.com and purchase the best solder wire connectors.